
Bittle: The Modern Robot
…and the Perfect STEM Teacher
If you listen to your parents’ stories of growing up you might hear them tell of wonderful new toys and tools that were invented. It’s even more interesting if you ask your grandparents how their lives changed because of new inventions.
Your parents might talk about the invention of the internet, home computers, and even being able to carry their music with them on small cassette tape players. Your grandparents might talk about being able to carry a tiny radio around with them that they could listen to without being connected to an electrical wire, or the invention of the microwave oven for fast cooking, or even the invention of television.
The idea of having a telephone in your pocket would have been an absolute miracle since before that, all telephones were attached to the phone system by wires! Well, guess what… you’re going to have fantastic stories to tell your children when you have families of your own…
You’ll tell them about 3D-printers that could make things for you in just a few hours after you put in the instructions; you will tell them about the very first time you ever went into outer space in a spaceship, and about how you built your very own robot when you were a kid, just like Anakin Skywalker…
Science, Technology, Engineering, Math (STEM)
STEM is very important. Learning how to understand, command, and control STEM subjects will let you do things that would have been impossible for your parents. You will use your talents and creativity to think of things which have never existed before. You will be the inventors of the future.
Using Bittle
One of the best ways to learn STEM is by actually using it to make things happen, and that is what Bittle the Dog robot is all about. Most robots have wheels and usually only work on smooth surfaces like floors. Bittle is different because it has legs. This means it can walk over irregular surfaces, and get to places that a wheeled robot could never go.
Bittle comes in different forms. It can come as a ready-to-assemble kit, where you get all the parts and instructions about how to put it together. This is one of the best ways to really understand what a robot is and why it works the way that it does. Assembly takes about one hour, and makes maintaining, repairing, or altering your robot easier because you put it together yourself.
For younger learners, it can come as a simple-to-use pre-assembled kit where you can start programming (teaching) your robot what you want it to do right away. It stores the information within the robot’s memory and executes the commands in order.
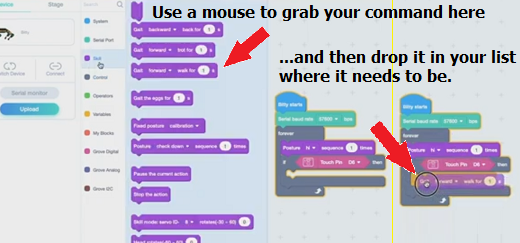
The programming interface has a library of commands can be used in a drag-and-drop format where you have to type almost nothing. This allows you to preprogram actions, but it doesn’t allow you to interact directly with the robot. If you want to operate your robot remotely, there are better ways!
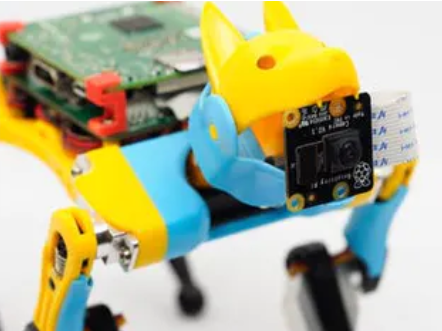
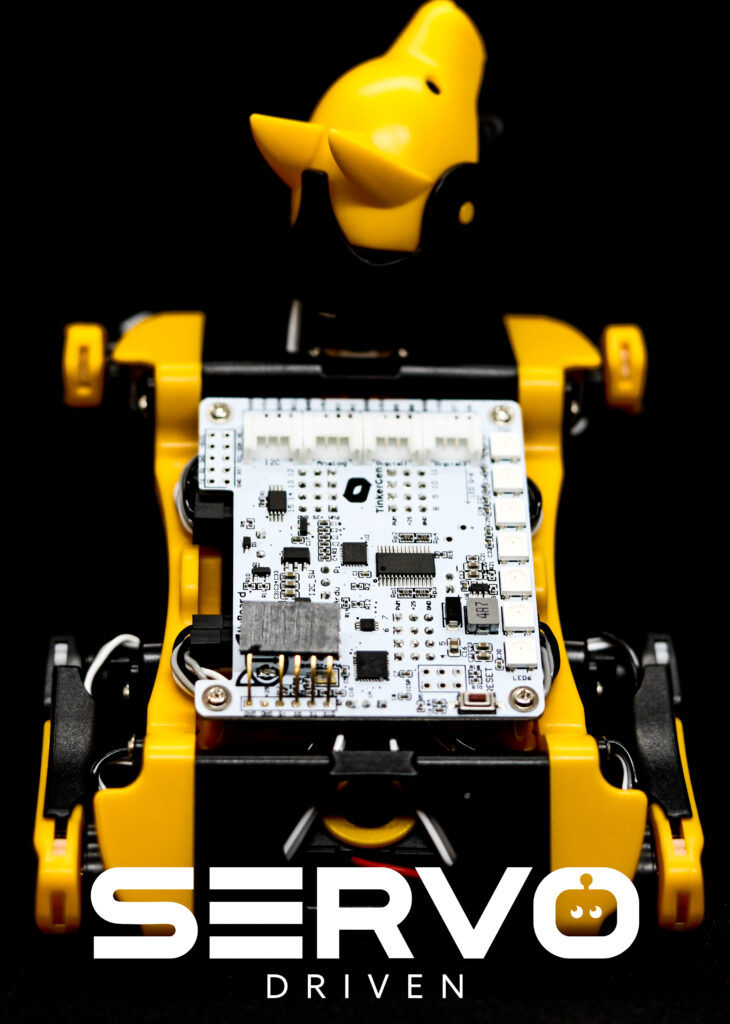
By adding a Raspberry Pi to Bittle, you give it the ability to collect a lot more information about the environment. Bittle is designed to accept two stock Pi boards (the Pi Zero and the Pi 3A+). This is what Bittle would look like with a Raspberry Pi stacked on top of its standard NyBoard v1 controller, and a tiny video camera attached. You can use other Pi boards that are bigger if you can 3D Print some supporting structures to hold them securely.
If you did add a Pi to drive a video camera or other interesting tool, you can add some amazing extra abilities. We’ll talk more about that below.
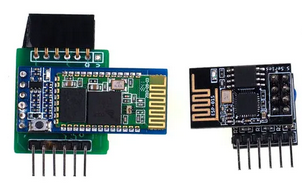
Bluetooth and Wi-Fi
The robot can accept additional modules to extend its abilities. Instead of direct and unchangeable instructions onboard, it is possible to operate the robot remotely using radio communication technology. While many Bluetooth services are limited to 10 meters (30 feet), Wi-Fi can extend for remarkable distances making this an interesting choice for outdoor work, or even for very large indoor environments.
By loading the instruction interface on to a touch sensitive tablet computer or smartphone, for example, you can control your robot and make decisions about changing conditions instead of relying on the onboard preprogramming. If it is walking into a dangerous situation you can instantly stop it, change its course, or recall it to where you are.
By adding extra modules, you can add artificial intelligence-type actions to Bittle. With proper programming and training, it can use an added microphone to recognize your voice commands.
As your programming skills grow, you could teach it how to “patrol” an area automatically and take pictures with an onboard camera; you could teach it to record video as it follows you around like a personal blog camera operator; you could teach it to interpret its environment so it can “see” things like obstacles or dangers and navigate around or through them while avoiding harm.
Once programmed it could recognize your face and then sit down and wave a paw at you when you enter a room. The possibilities are nearly unlimited, so what would you make it do? Add a speaker and make it talk?
The Takeaway
Altogether, this is a very complete base upon which to build. Alone it is an excellent learning and experimentation tool. The future prospects are limited only by the imagination of the users.
Yeah, sure, it may be another 10 or 20 years before you get to go into space on a vacation so you can tell your kids about it… But for right now, in this very moment, you can actually have a robot of your very own, that you can build yourself, and that you can teach to do amazing things. He may not be as sophisticated as C-3PO from Star Wars, but then again, he probably won’t complain as much as C‑3PO either…so that’s a good thing!
Specs
Bittle operates using the NyBoard V1. This contains:
- The 8-bit AVR microcontroller Atmega328P, complete with:
- a 16 MHz CPU,
- 2KB SRAM, and
- 32KB of flash memory
- 4 Grove Sensor interfaces composed of:
- 2 digital,
- 1 analog, and
- 1 12C BUS),
- 4 Pulse Width Modulation (PWM) LEDs for brightness control,
- a PCA9685 16 channel Pulse Width Modulation Controller for amplitude control,
- an ICM20600 6-Axis Motion Sensor,
- the HX18388 IrDA for remote Infrared signaling,
- a Serial Interface,
- a Raspberry Pi Interface,
- and an AT24C64 64 Kbit EEPROM,
- 12 PWM Connectors for the servos, for servo amplitude control,
- an Arduino In-Circuit Serial Programming (ICSP) interface,
- a 7.4v battery interface,
- a 12C switch for both Pi and Arduino,
- and a passive buzzer.